Thursday, March 25, 2010

Patience for Peas

Remember the peas that I planted clear back in February? Patiently, I have waited for them to germinate and pop out of the ground. After nearly a month and a half of wondering what I had done wrong, of wishing the soil would warm up so that they would come out, of repeatedly checking to make sure my peas weren't rotting away in their beds, I was just about to give up and start over again. Today I checked and......THEY FINALLY STARTED POPPING UP THROUGH THE SOIL!!

So, what have I learned from this experience? That I really need to learn to trust more and to have more patience. Wait, I already knew that. No, what I REALLY learned was that, when some avid gardener, who has far more expertise than I will ever have, says that "you can plant peas as soon as the soil is pliable," what they really mean is that it needs to be WARM enough outside to make regular earth soil pliable. Because it isn't the soil's pliability, as much as it is the temperature of the soil surrounding the seed, that helps it to grow (and to pop out of the soil when it feels warm and safe enough). I know, this realization is probably nothing new for most of you, but I am still learning and I am just happy to see that all of the work I put forth (about 6 weeks ago) is finally starting to pay off. I feel pretty dang good right now. In fact, I feel rejuvenated just by the sight of all of those little guys poking up through my soil out there....

~.~ the purple sprout

Saturday, March 20, 2010

Baskets & Pots


I have always loved baskets and pots....always. I like the way that greenery in baskets looks, but I haven't done a whole lot with houseplants for a number of years. This year, I found myself bringing several new plants home one afternoon (some people bring home stray dogs and cats, for me it's picture frames, unique pots, and plants). One of the reasons I hadn't owned any houseplants in so many years was the fact that it is SUCH a pain to take them over to the sink and soak them, and then wait for them to drain, and move on to the next plant, and the next, and the next....you get the picture. So, this year, when I got the buying-houseplants bug, I decided that I would experiment and see how well these guys would do in baskets and non- draining pots. Keep your fingers crossed.


Supplies, supplies, supplies!


I purchased some organic potting soil, pea gravel (for drainage in the bottoms of pots-didn't have any shards this time), and some 4 ml. plastic sheeting.


Then I decided which plants would go where.


I began with my baskets. With this one, it was wide enough that I could plant an arrangement of five plants.

I pulled the plastic sheeting (painter's drop cloth) through the basket and pushed it down snugly into the basket.


Making sure I had about a foot of clearance on each side, I cut the plastic sheeting.


Then I stretched it out and molded it inside of the basket, so that it was even around the edges and ready for planting.


I filled the basket up about halfway with potting soil.


I positioned my plants where I felt they would look best and made sure that the soil was at the right level for my plants to be just even with the top of the basket base.


I removed the plants from their pots.


I filled in around the plants with more potting soil.


I trimmed the plastic sheeting up to about 2 inches over the edge of the basket base.


Easy enough, right?


I watered the soil and made sure that it was pretty moist, but not too wet because I knew that there was no way for it to drain out, and plants hate having soggy roots.


For this basket, in particular, I chose to use Spanish moss to cover the soil around my plants. I tucked the moss in between the plastic sheeting and the basket and pulled it up over the soil, tucked neatly around my little plants.


I continued tucking in my new little houseplants.


Ta Da! I had now completed my very first basket full of houseplants! By the end of the year, they should be big enough that you won't even be able to see the Spanish moss anymore...if they survive. Are your fingers still crossed?


I love red...and this pot was perfect for my miniature roses.

I began by filling the bottom of the pot with my pea gravel, to ensure the proper drainage so that my plant's roots will hopefully not get waterlogged.

I covered the pea gravel with potting soil and made sure that the top of the rose's root ball would be even with the top of the pot.


I took it out of it's pot and filled in around the plant with soil. Super easy stuff....I know.


I took my washed gravel and filled in around the base of the roses so that it would look purdy.


I thoroughly soaked the plant, drained off the excess water, and put it in a sunny location (on my awesome shelves).

I now have a bunch of houseplants....which will need to be babysat while I am away on vacations
to exotic locations during the months that I used to have nothing to worry about...
and I love them all.
~.~ the purple sprout

Monday, March 15, 2010

Measuring Up

The tallest tomato plant is almost 7" today.

The tallest pepper plant is just under 5" today.


The tallest tomatillo plant is around 6" today.


I can't wait to see where they will be in another month....or two. Summer is so close, I can almost taste it!


~.~ the purple sprout

Friday, March 5, 2010

So Lucky

I got all of my seedling flats up on their shelves in the kitchen.
All of my tomatoes and peppers are looking out of this window and thinking about how lucky they are to be so loved...


....and so warm inside while the rest of the world outside is still sleeping soundly under their blanket of snow....


...look at the little hairs standing up on this baby tomato plant....so happy to be here with me...I am so lucky.

~.~ the purple sprout

Wednesday, March 3, 2010

Shelves


I just have to start off by saying that I REALLY love my boys. They really keep me on my toes and they do have their moments of seriously pushing my buttons. And, yet, there are many moments when they surprise me and pull it all together when I need them the most. On occasion, they even work great as a team (when they aren't fighting). I am so glad that our boys have each other to hang out with and that they have such a strong desire to learn, to develop their talents, and to obtain new skills.


I had 6 flats of seedlings, all ready to soak up some sunshine. I also planned on having many, and I mean MANY herbs, growing in my kitchen later this year. Because of this, I knew that I would need a shelving system to keep them up closer to the sun and out of the Sunshine's reach, while also maintaining some degree of aesthetic pleasure beyond their function. I visited IKEA (for the very first time), only because I saw an ad for these shelves and they were just what I was looking for. I bought them and brought them home, where they sat in a neat little pile on the floor for almost an entire day before my boys started pestering me. Could they please help me put the shelves together? Please? Pretty Please? While my original plan was to allow the hubby to be in charge of the shelves (and I hated to take away his fun), I eventually decided to take their desire to help out and use it to my advantage. I promised the older boys that they could help, but only if they got school out of the way first...which they did (in record time, I might add).


We all started out working together on the first of four sets of shelves. Then I needed to change a diaper....and they worked on...
....I needed to nurse my Sunshine...and get him down for a nap....and they continued on...
 

....I had to prepare lunch....clean up after lunch...make a few phone calls...
and before I knew it...........
 
...the shelves were finished!
My shaggy-haired boys thoroughly impressed me with their skills and their motivation.
I am truly proud of these boys. You can't tell, can you?


We put the shelves in the kitchen bay window, all ready to house seedlings, houseplants, herbs, and maybe even some unique knickknacks. I know they aren't the best looking shelves in the world. And right now they look like they were put together upside down, which we did on purpose to utilize sunlit area and growing headroom (and to keep Sunshine out of reach). But they were pretty inexpensive, are quite sturdy, amazingly light weight, and apparently very easy to put together.
What more could you want from shelves?

Did I mention that I love my boys?
~.~ the purple sprout

Potato Vine Cuttings

Every year it seems like my hubby and I spend a ton of money on buying beautiful annuals...only to have them die once winter sets in. My goal for this next year is to bring all of my annuals (except for some of the veggies, of course) inside during the cold season. We'll see if it happens.

One of my most favorite annuals is the potato vine. I love the bright green and the deep purple of these two types in particular. Last year I decided to take cuttings from the plants that I had, just to see how they would do. I began, in early fall, by cutting several vines (with at least 5 leaves on each stem), then pulling off the bottom 2-3 leaves. I immersed the bottom of the stems in water (covering the area where I took off the leaves) in a couple of vases, leaving them to their own devices for several months. Actually, they were sitting in the middle of my kitchen table all winter, as a great teaching tool for the kids on how roots develop and what they look like. The picture above was taken in November.

After about 4 or 5 months, I noticed that the roots were getting kind of cramped in the vases and the leaves started developing some weird crystals on them.....yeah, really weird....I started thinking it might be best to get them into some soil sooner than later.


I gently removed them from the vases and laid them out on some newspaper (please ignore the ads, apparently it was doggy week somewhere).


I like terra cotta pots...not just the way they look, but the way that they feel, the way that they smell (when they are wet, you can smell the earthiness of their content), and the fact that they have such an Italian name.....beatitudine!


Inevitably, I have at least 2 or 3 terra cotta pots break every year, usually due to children knocking them over or the extreme temps causing them to crack. So I smash them up and use these shards in the bottom of my future pots. The shards keep the soil from draining out of the hole in the bottom of the pot and also keep the plants' roots from sitting in water and drowning (plants don't like waterlogged feet anymore than you or I do).


Once I got to this point, I separated the cuttings from each other and laid them out next to their future home.


I then put a thin layer of potting soil over the shards.


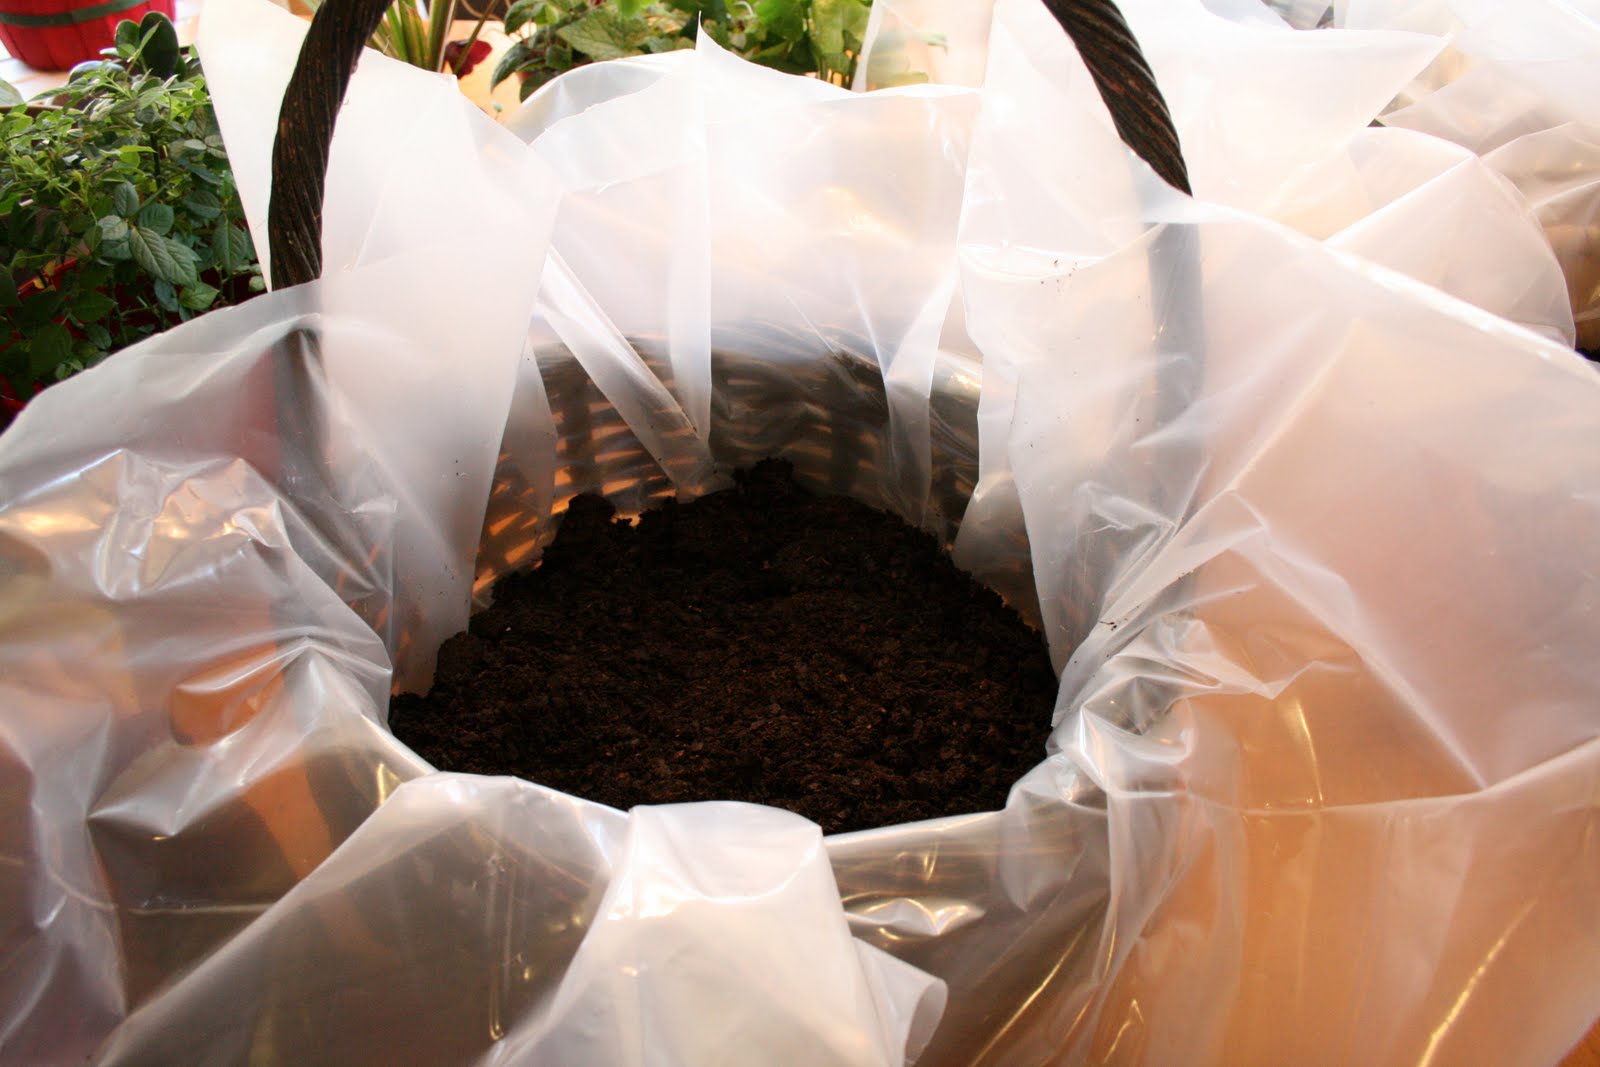
And began placing the roots into the pot, one at a time.


Until they were all composed in an arrangement to my liking...then I covered them with more potting soil and reached for my Dr. Earth fertilizer...


Only to find this hibernating wolf spider, who was quite surprised at my unannounced visit to his winter home. I apologized for the intrusion and escorted him to my garden.


I added some Dr. Earth fertilizer (which I love because it is all natural, even though it smells like turkey manure).


Finally, I added water to the soil....slowly....until it was thoroughly drenched...in the process, washing off the spider egg sacs and dust that had accumulated all over the outside of my wonderful terra cotta pot during the winter. I let it drain completely.


And...Vuala! I know that they look kind of spindly now, but give these cuttings a few months, and they will be looking mighty purty!!
~.~ the purple sprout